
 Tweet
Tweet
Originally posted by Muz
View Post

.gif "wink2")

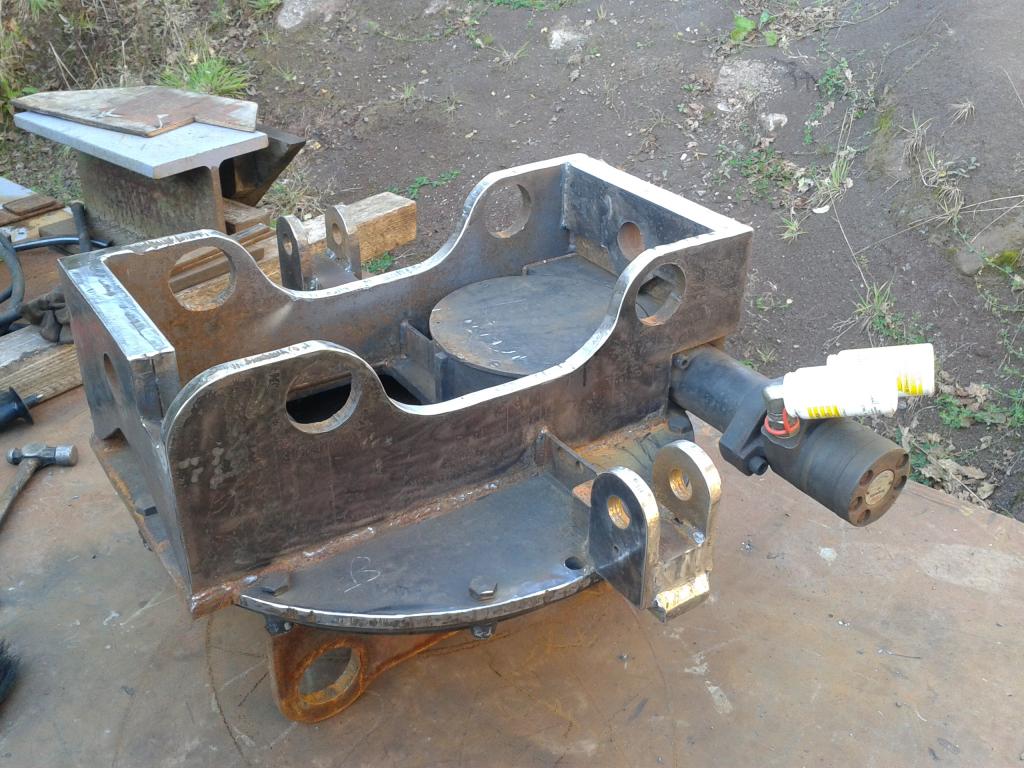
it's had a hard life by the looks of it and been f***ed about with, as you can see

this'd make a nice MKII version, but still looking for a suitably compact rotater!!


Helac quoted me 6K for a s/hand tilt hitch off their stock list last year to suit my 15 tonne 'Drema - she's on 70mm pins so quite a lump required.
With a ring gear between the top half and the hitch, with some 'Druidry' it'd be pretty tall still - and those tilt units don't have the power of a ram system.
The other issue would be getting oil down to the hitch - very tight for a rotary coupling and also little room for Cetops, etc..


The current VA-r is pretty crowded as you'll eventually see
- - - Updated - - -
Originally posted by Wee Jim
View Post
Originally posted by Stock
View Post


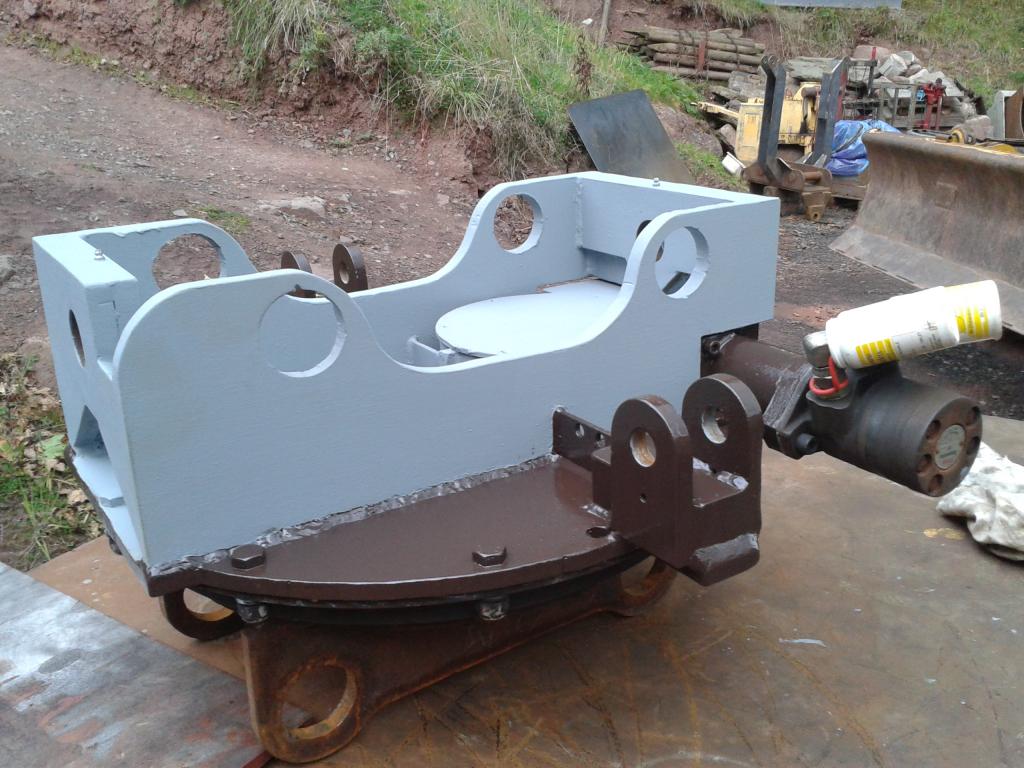
.gif "thumbs up") .. I was wondering how you were going to mount those tilt rams mindful that some makers use the lower section of the case of the ram its self as the mount point ... think I'd be worried about whacking them of something
.. I was wondering how you were going to mount those tilt rams mindful that some makers use the lower section of the case of the ram its self as the mount point ... think I'd be worried about whacking them of something  Ok for owner drivers of course


Comment